


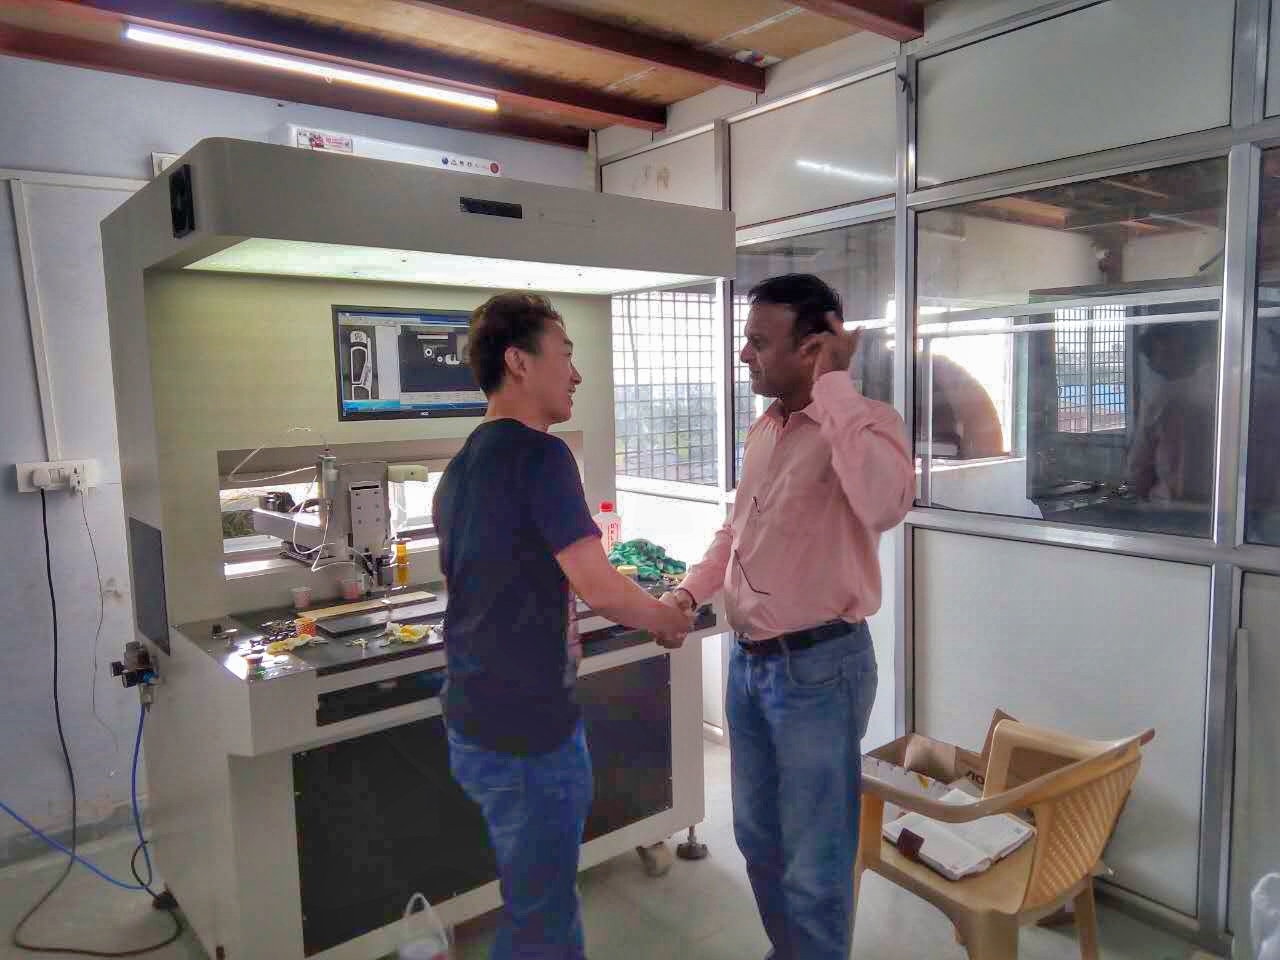
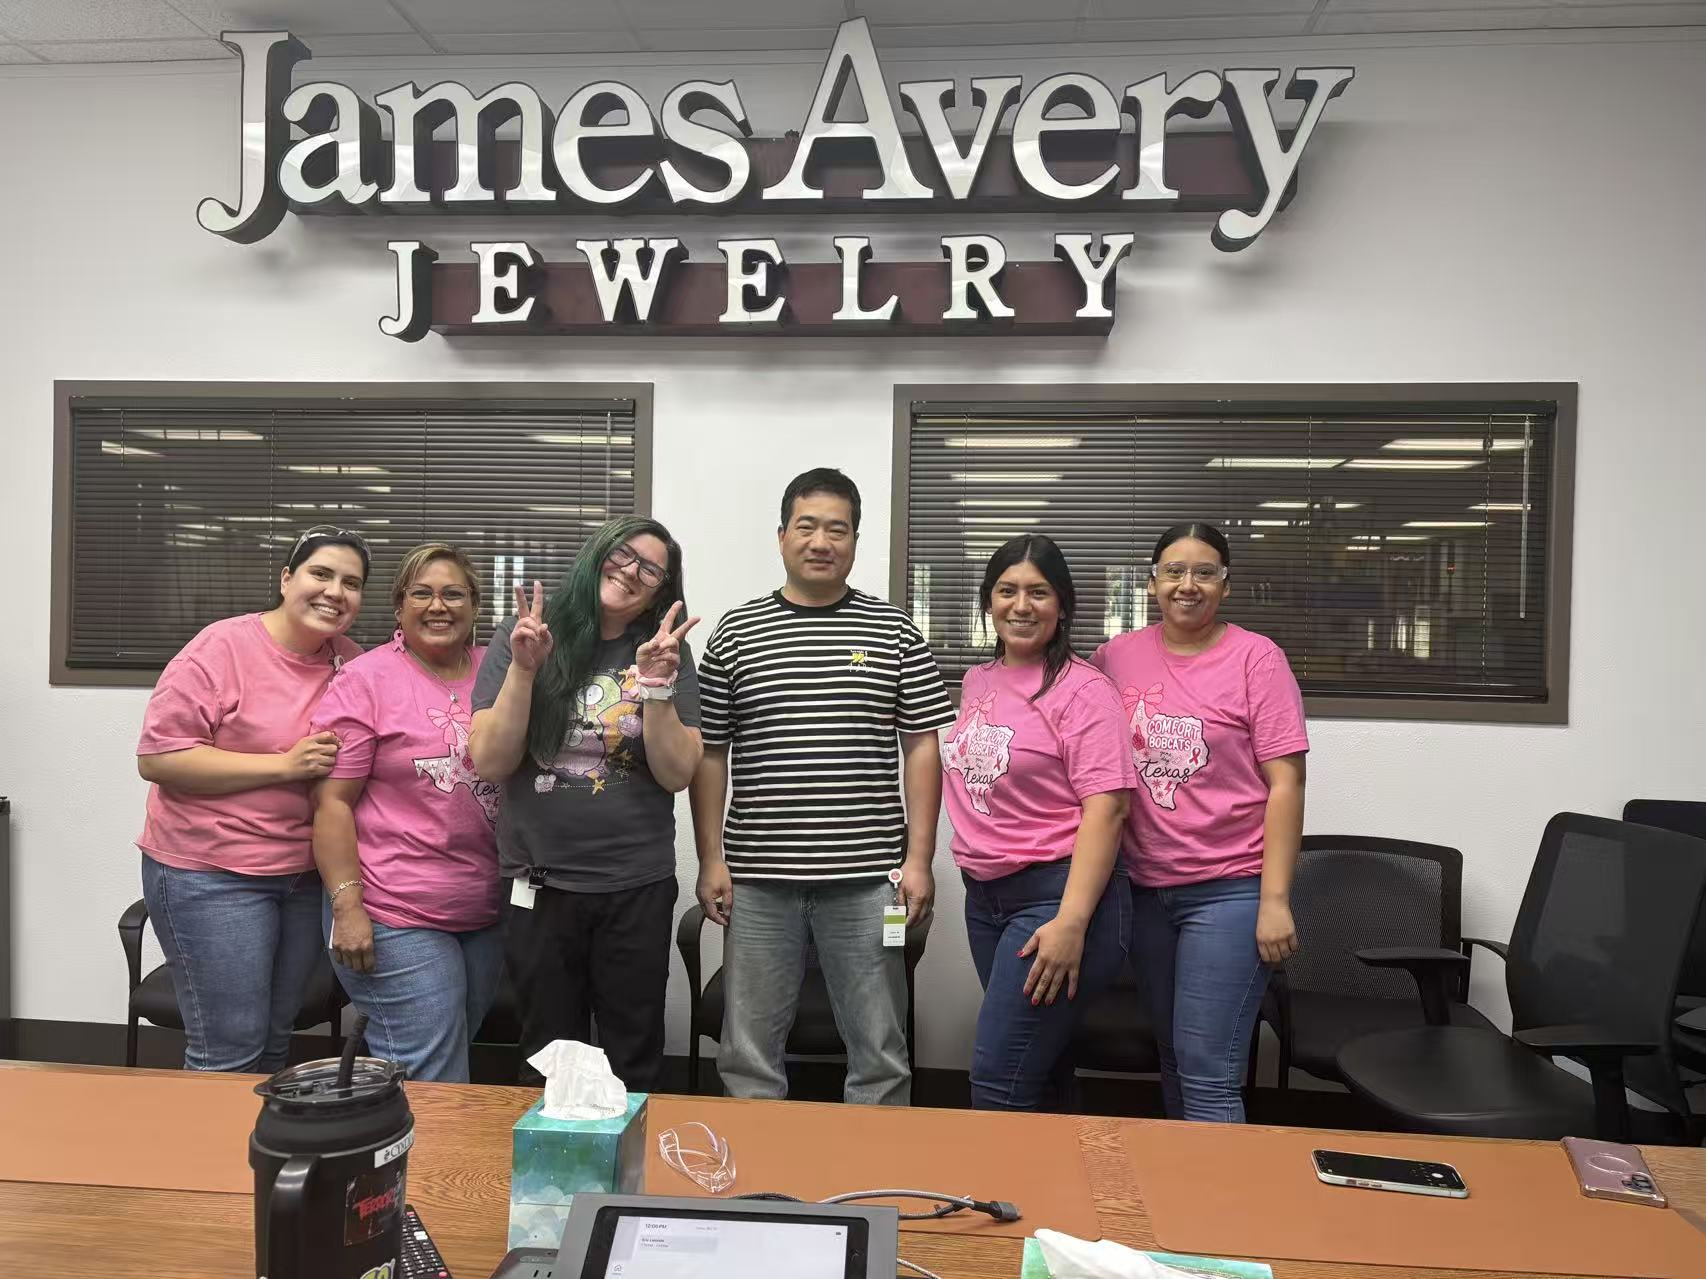
USA CUSTOMER


Whatsapp


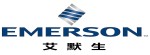
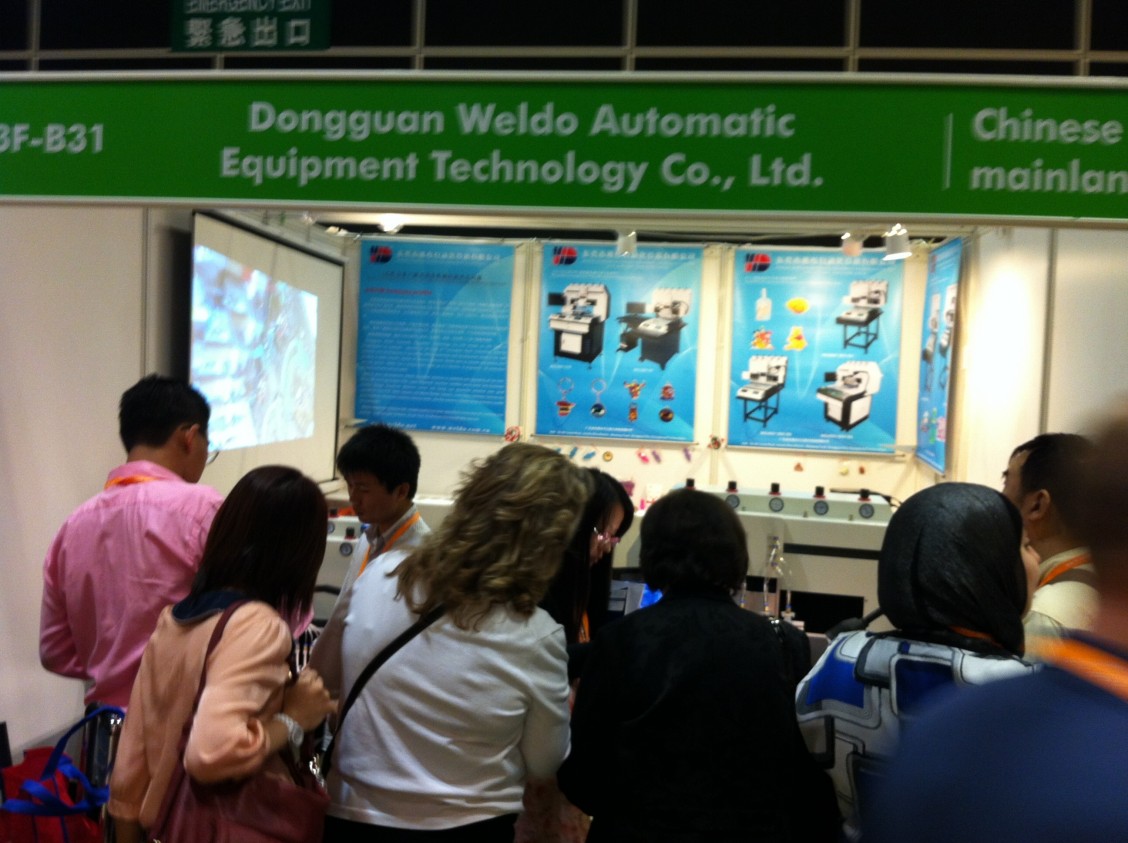
DONG GUAN WELDO AUTOMATIC EQUIPMENTTECHNOLOGY CO.,LTD
Visual Dispensing Machine
Application Products
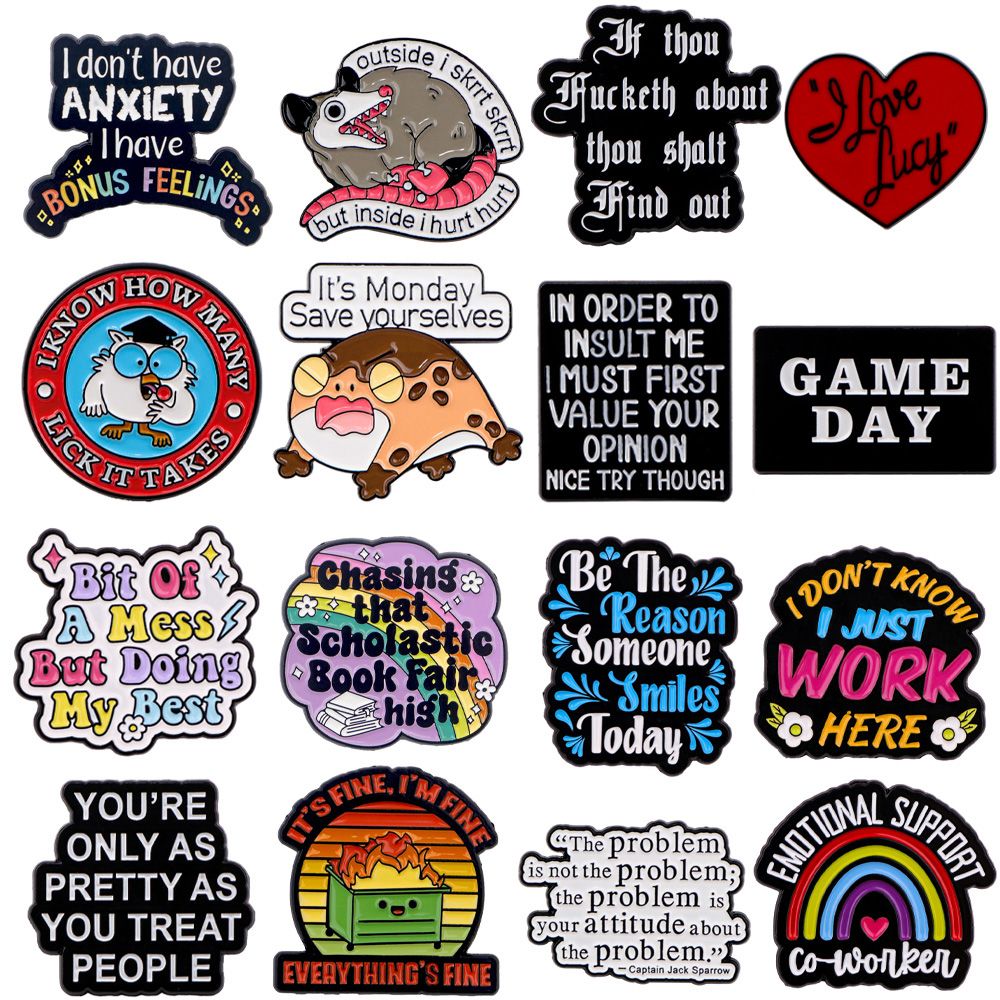
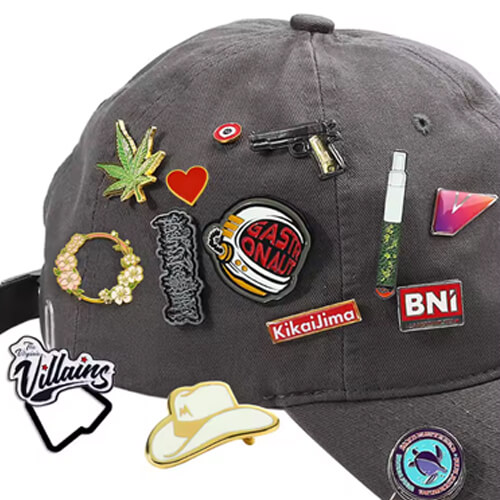
Poly Badge
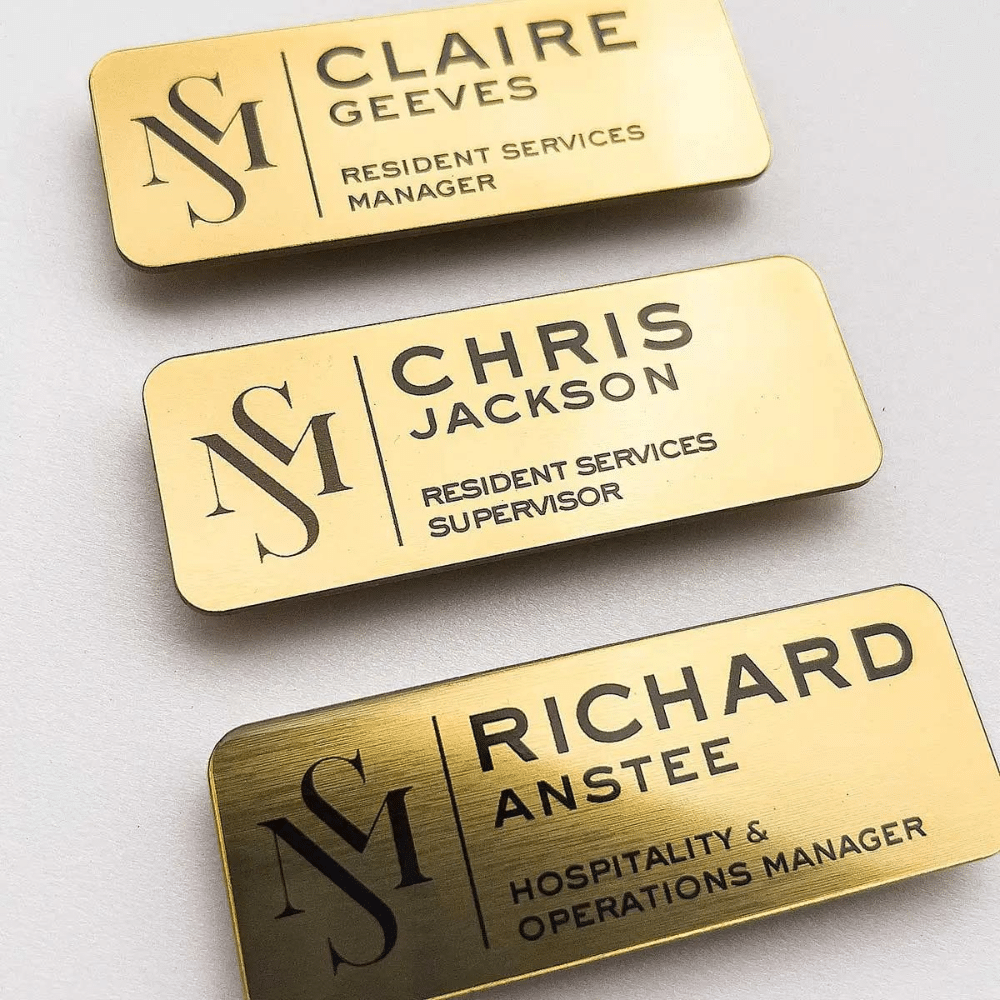
Metal Trims
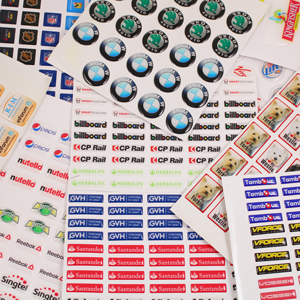
Stickers
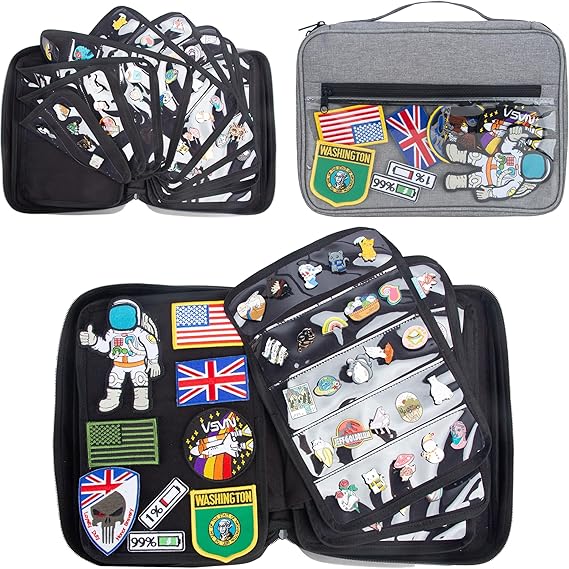
Luggage Accessories

Car accessories
Garment Accessories
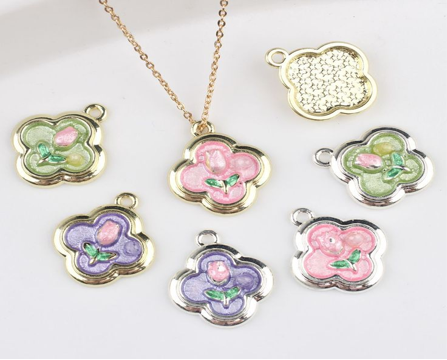
Jewellery Painting
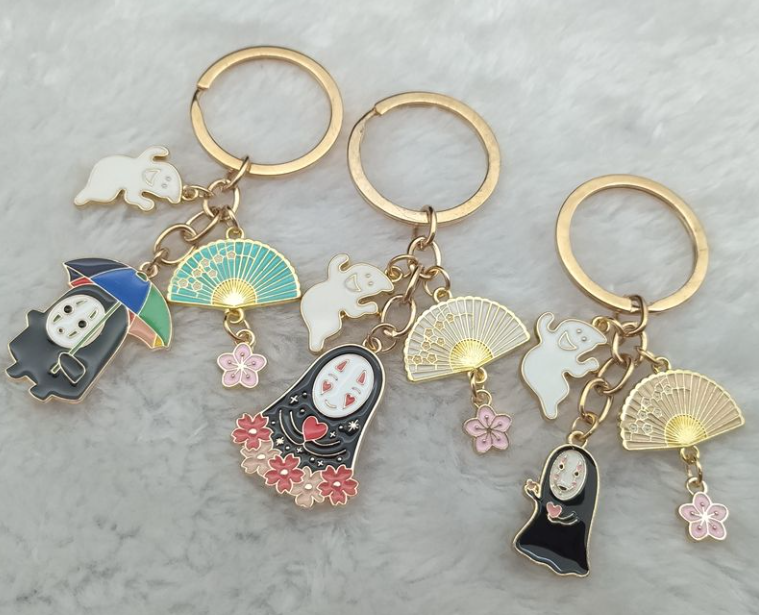
Keychain Painting
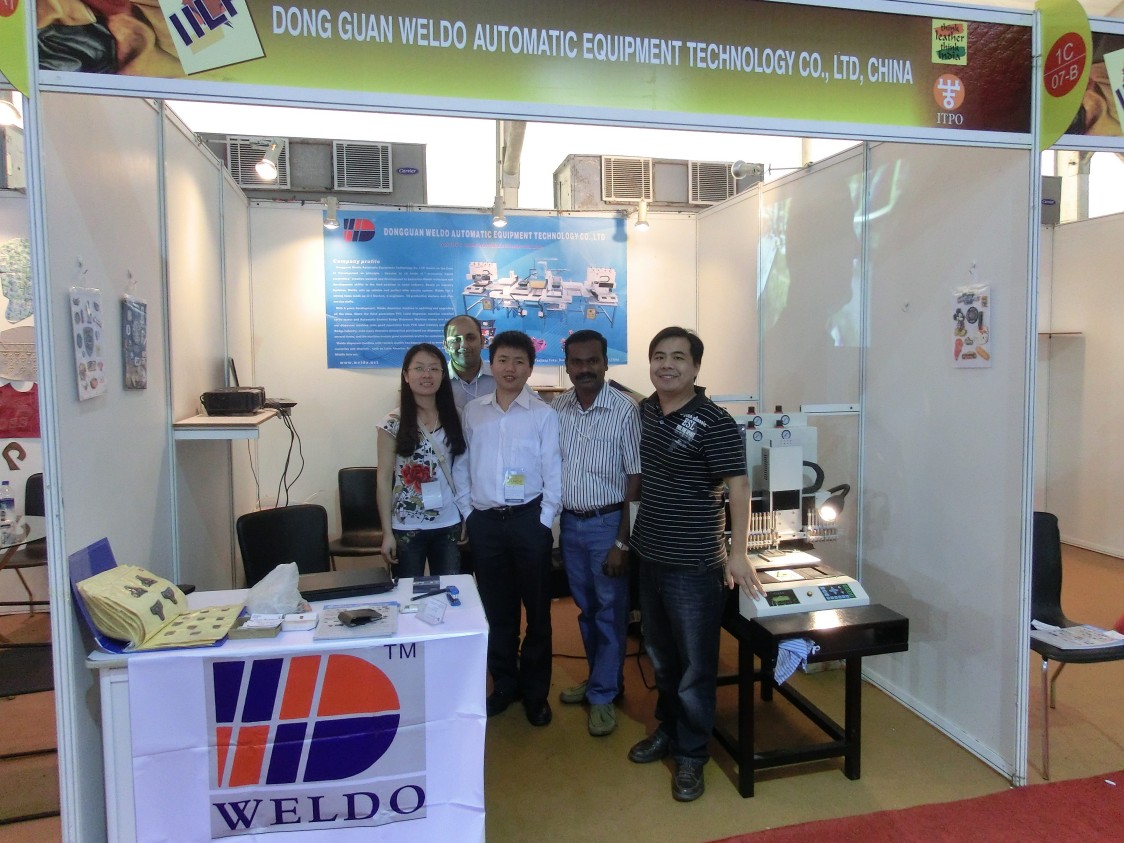
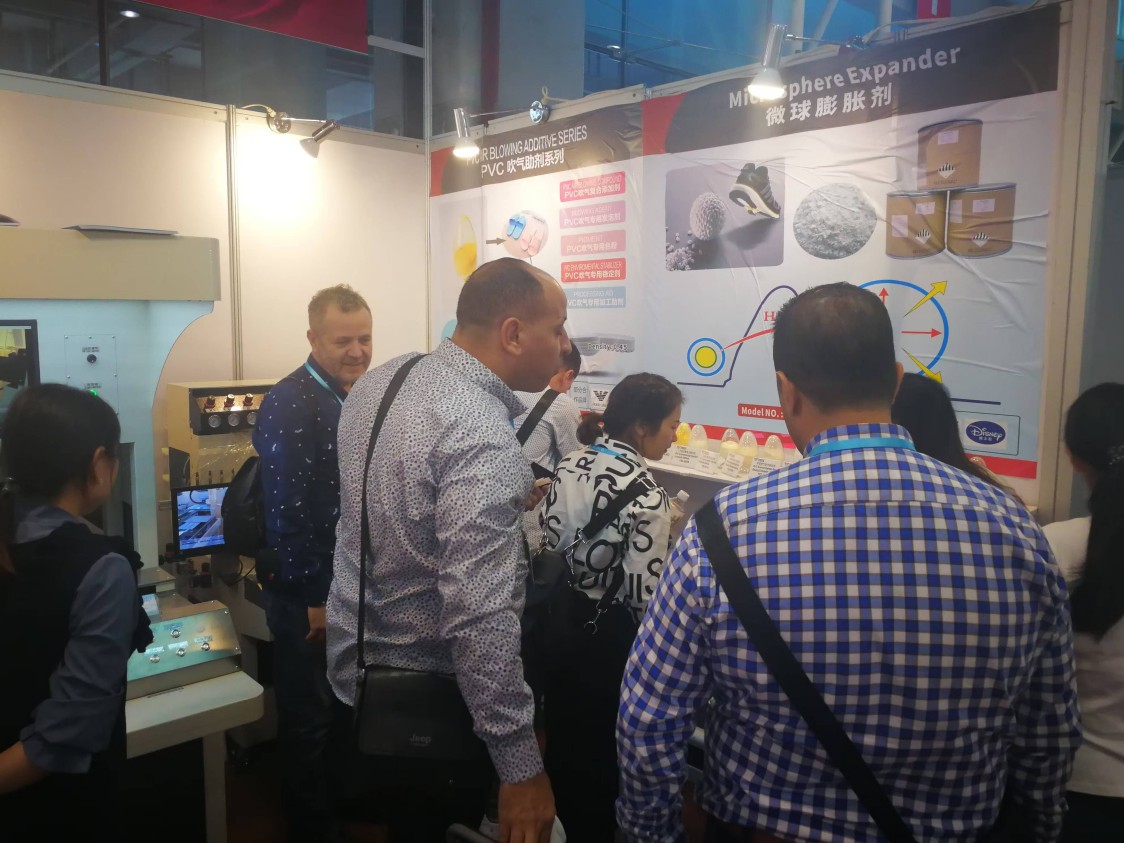
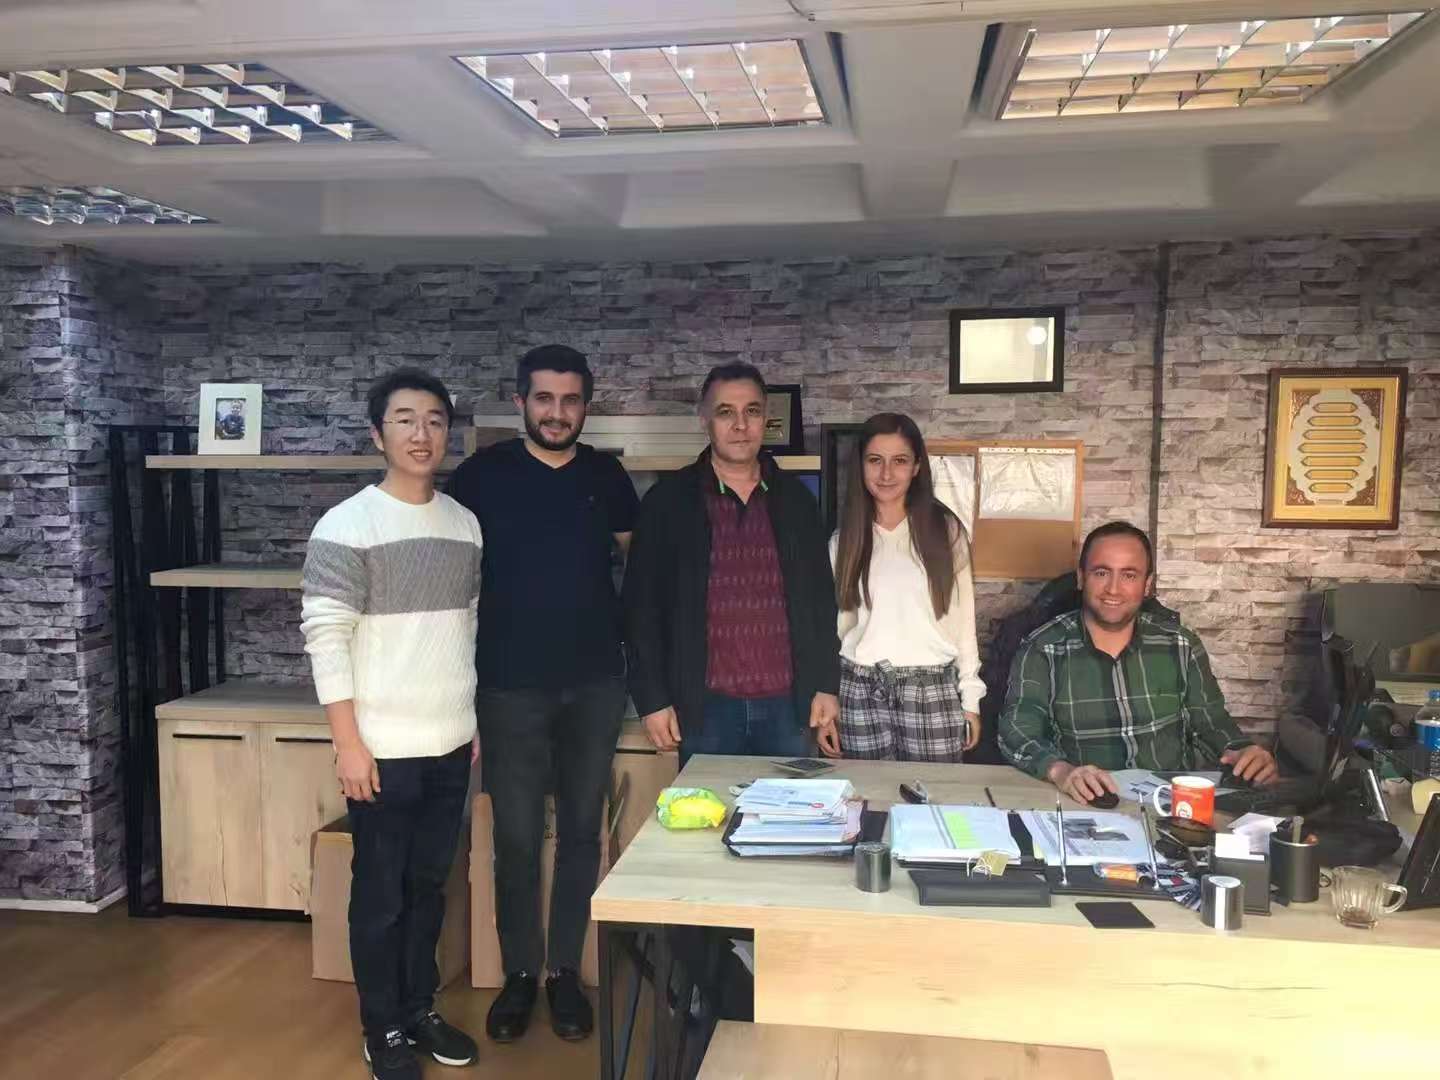
COMPANY SHOW
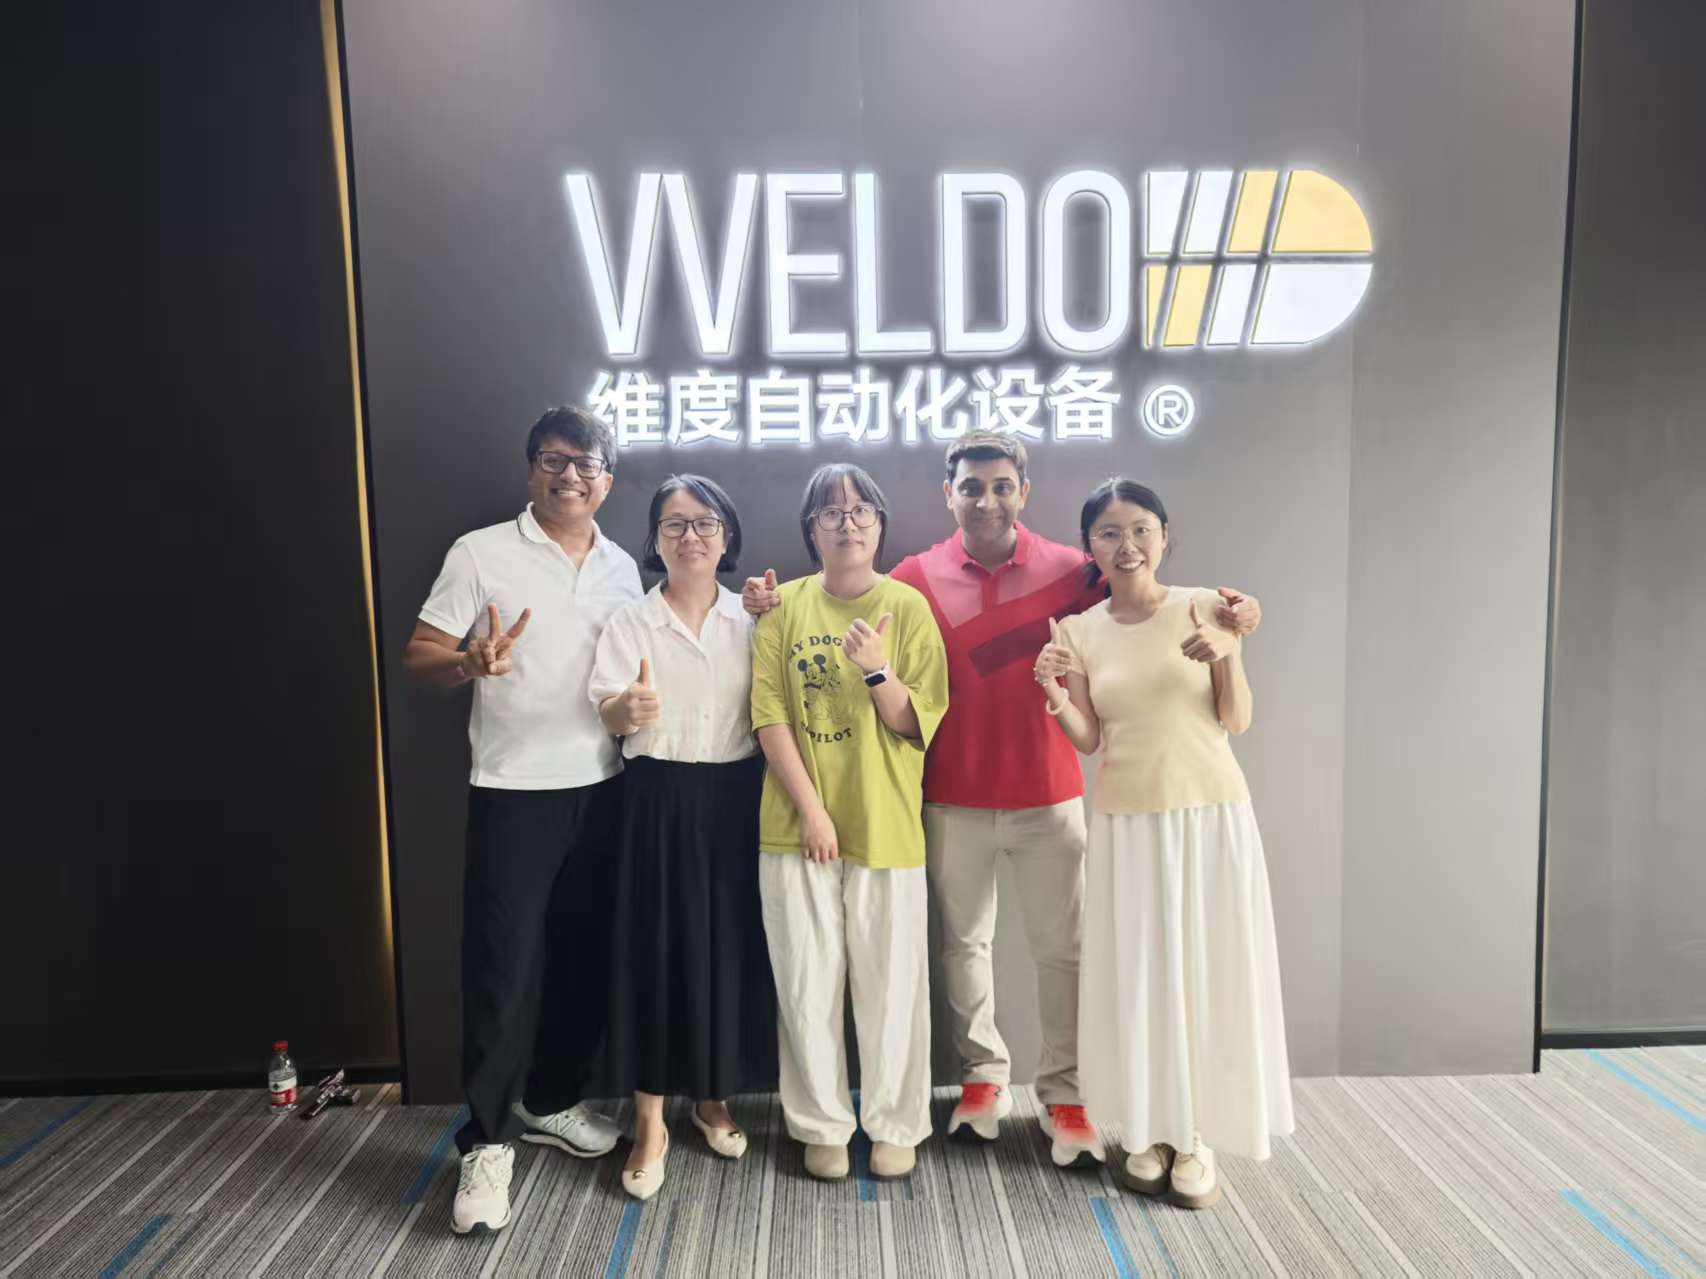
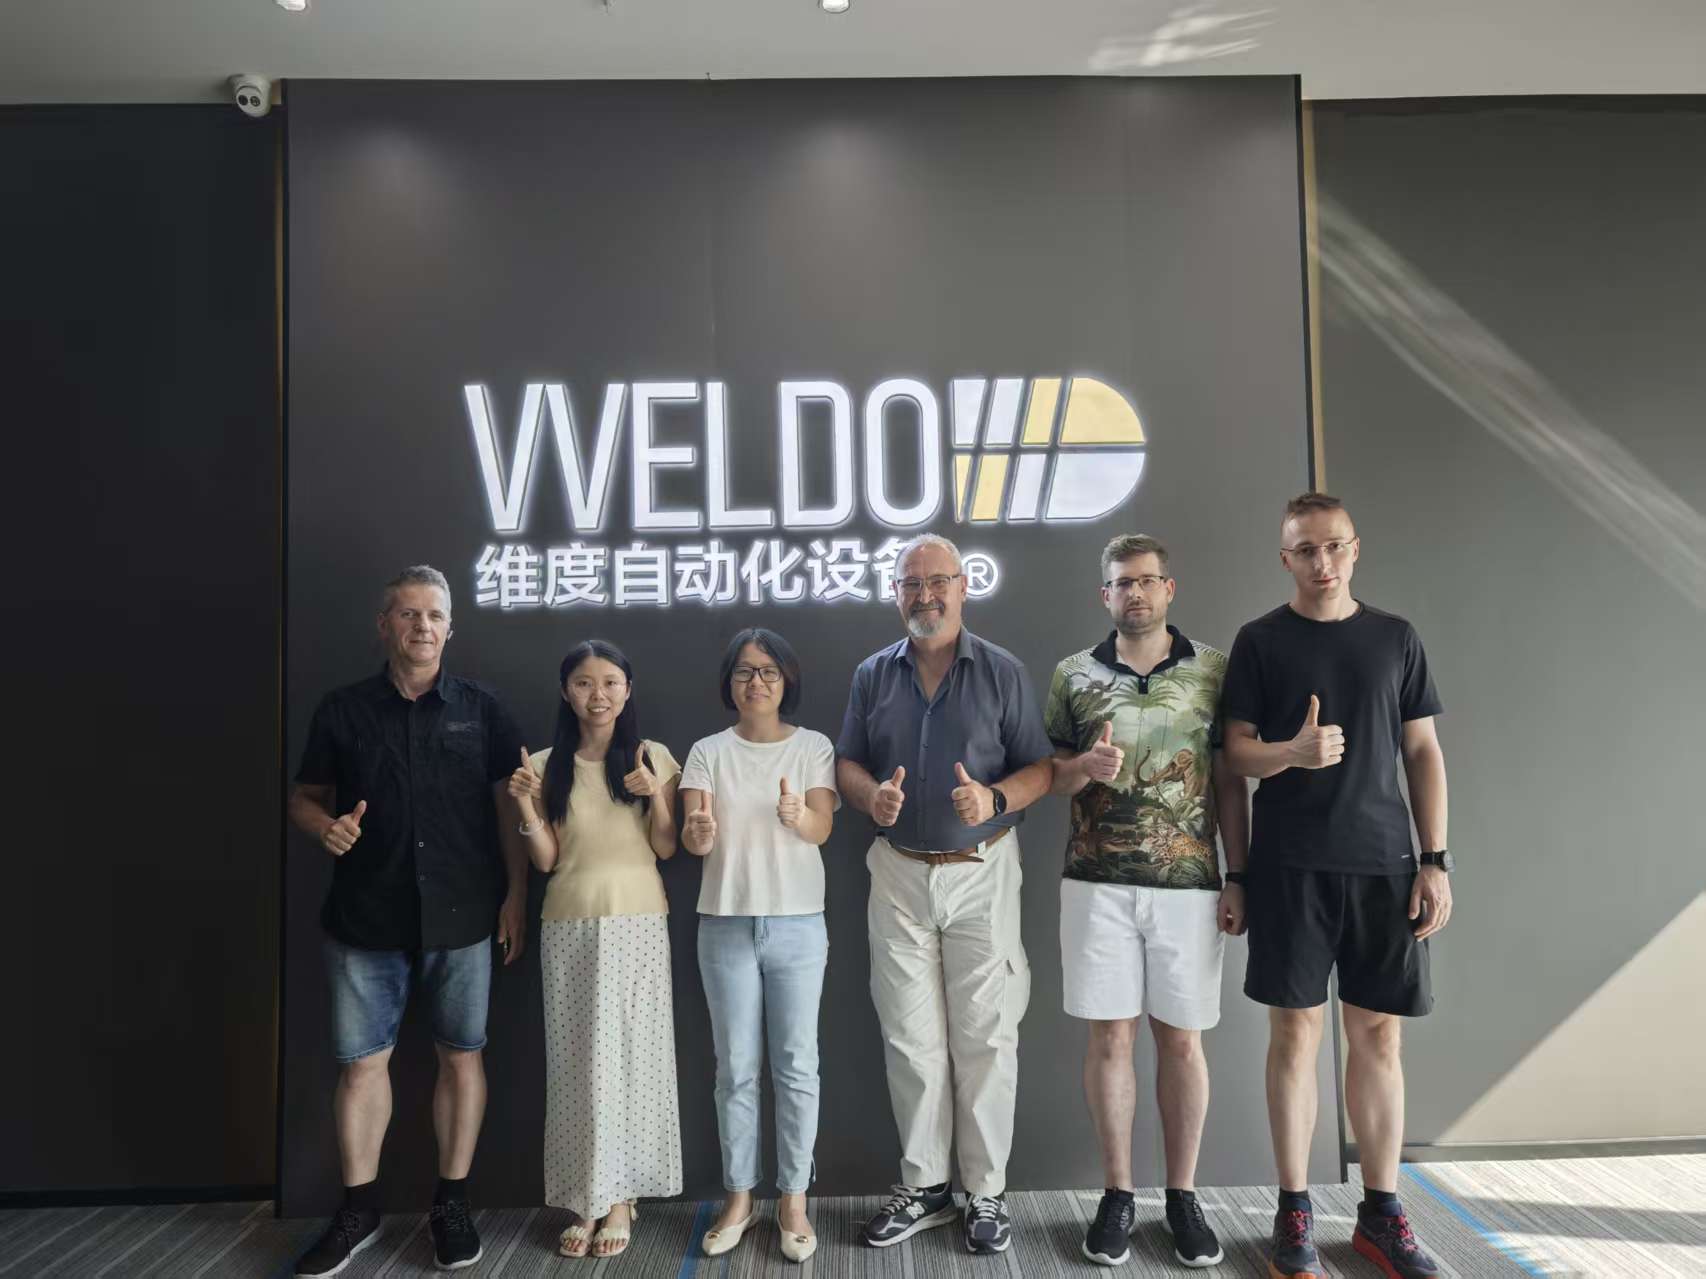
WELDO
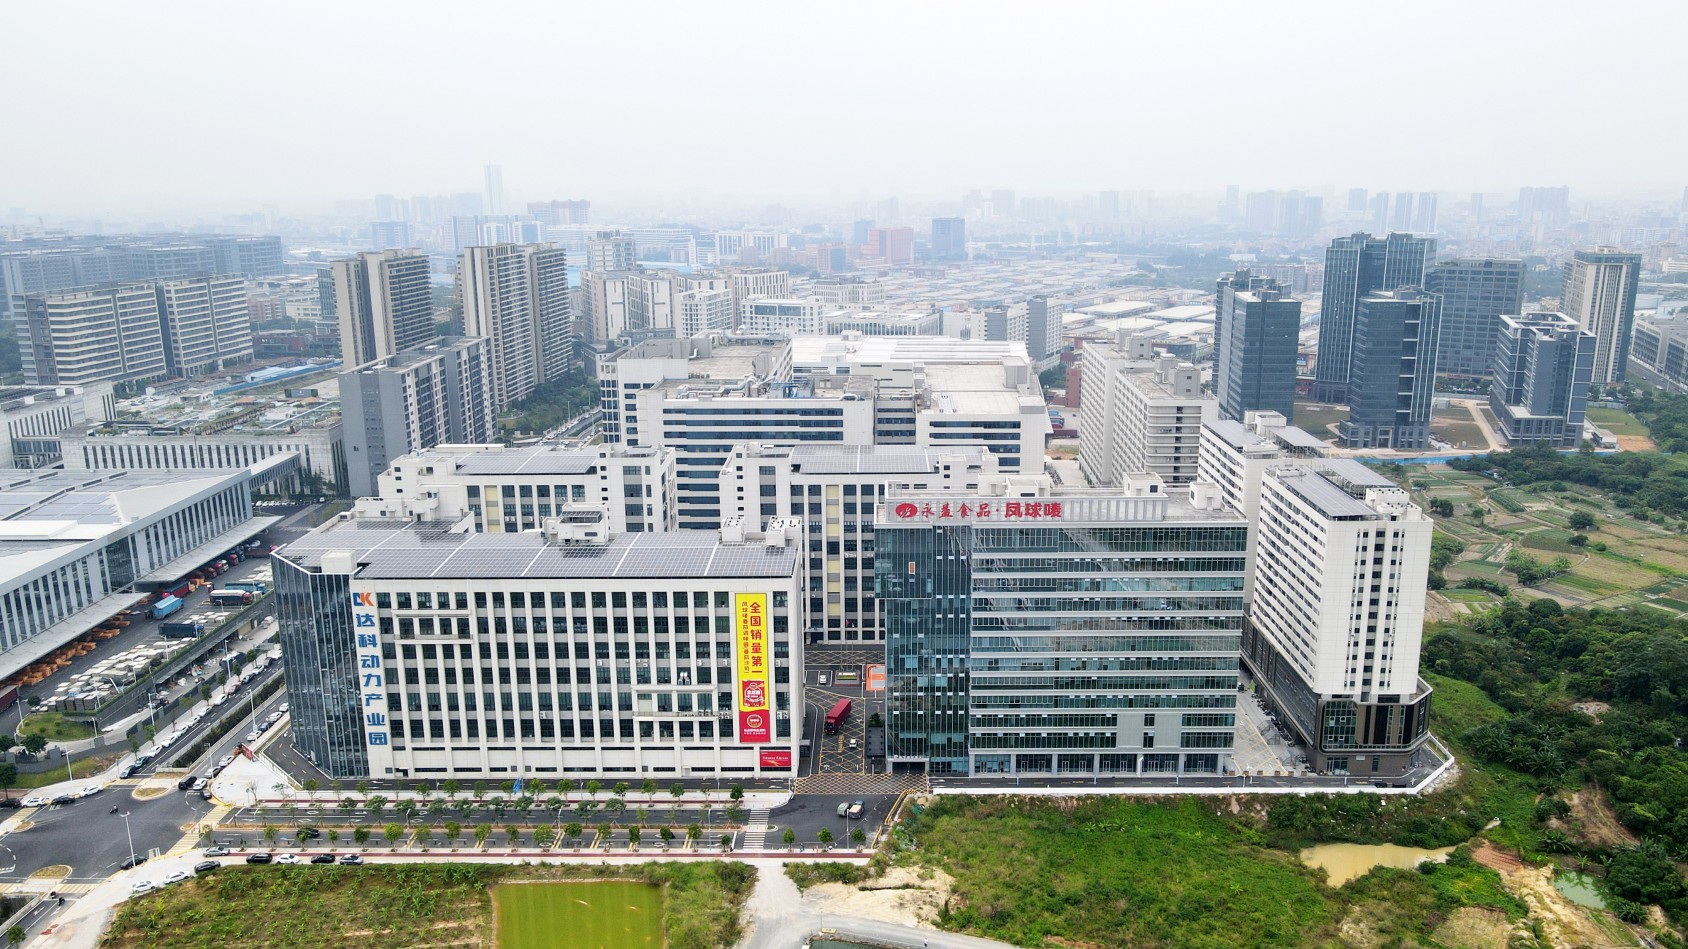
COMPANY SHOW
WELDO
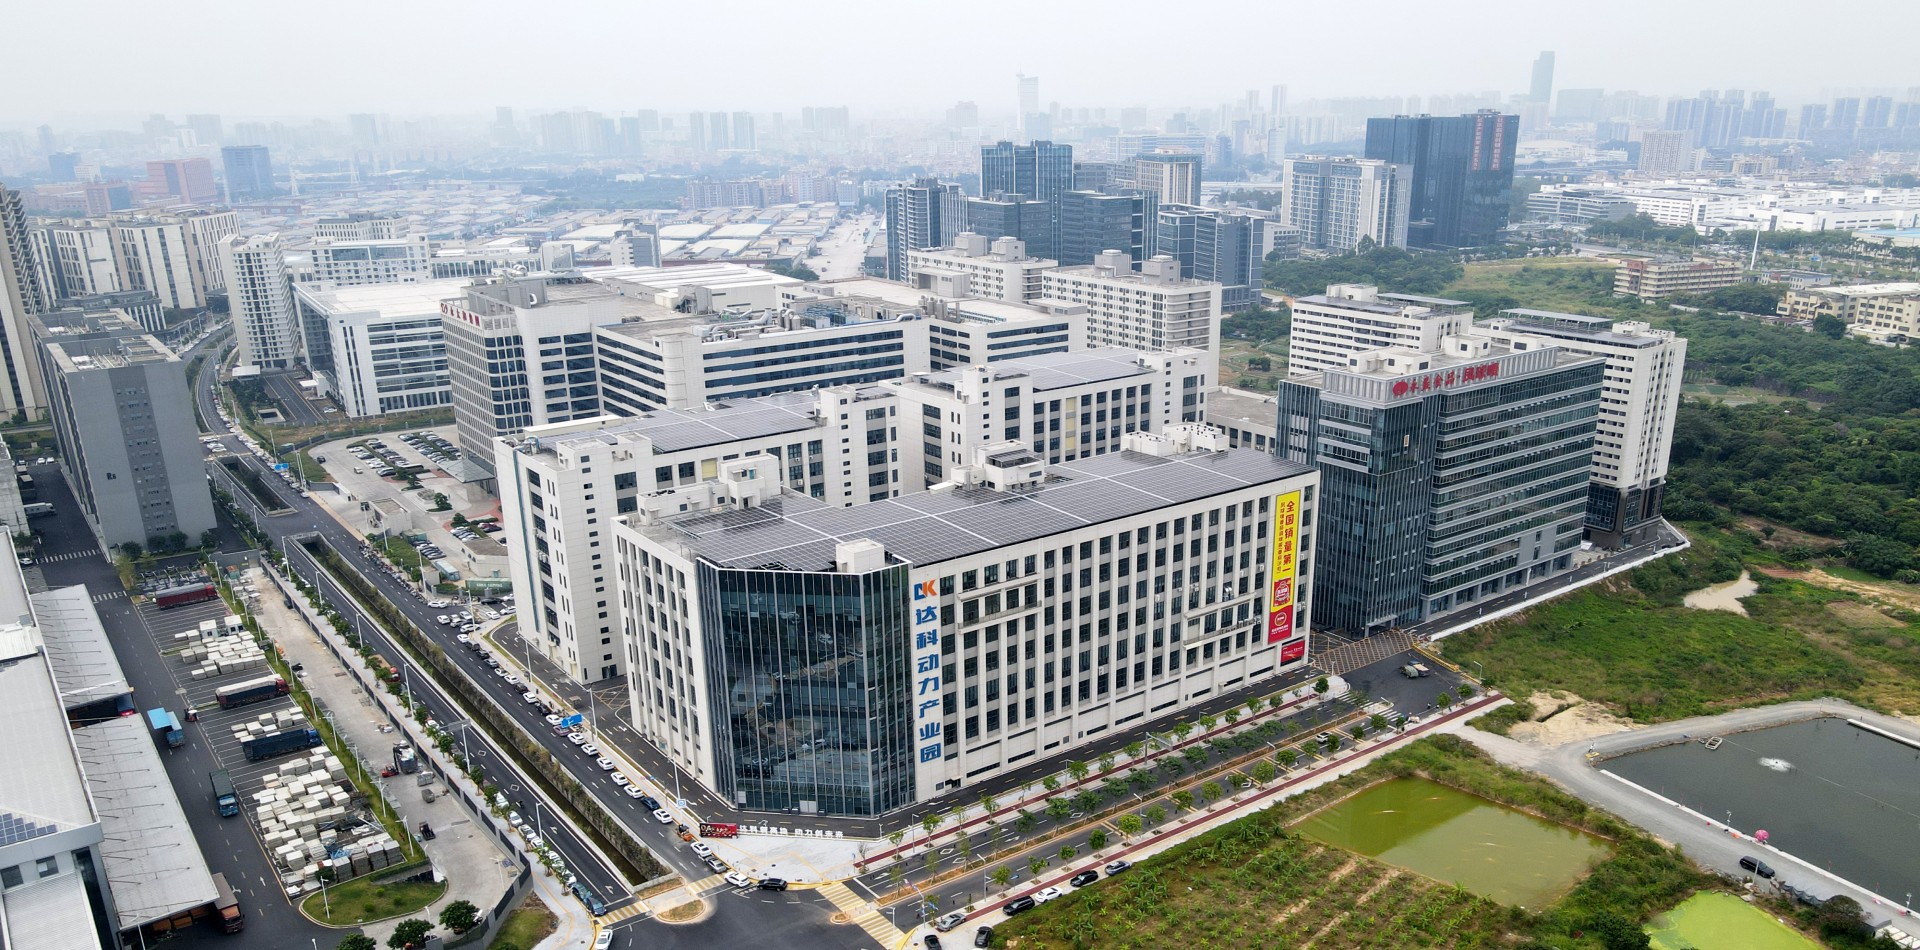
WELDO
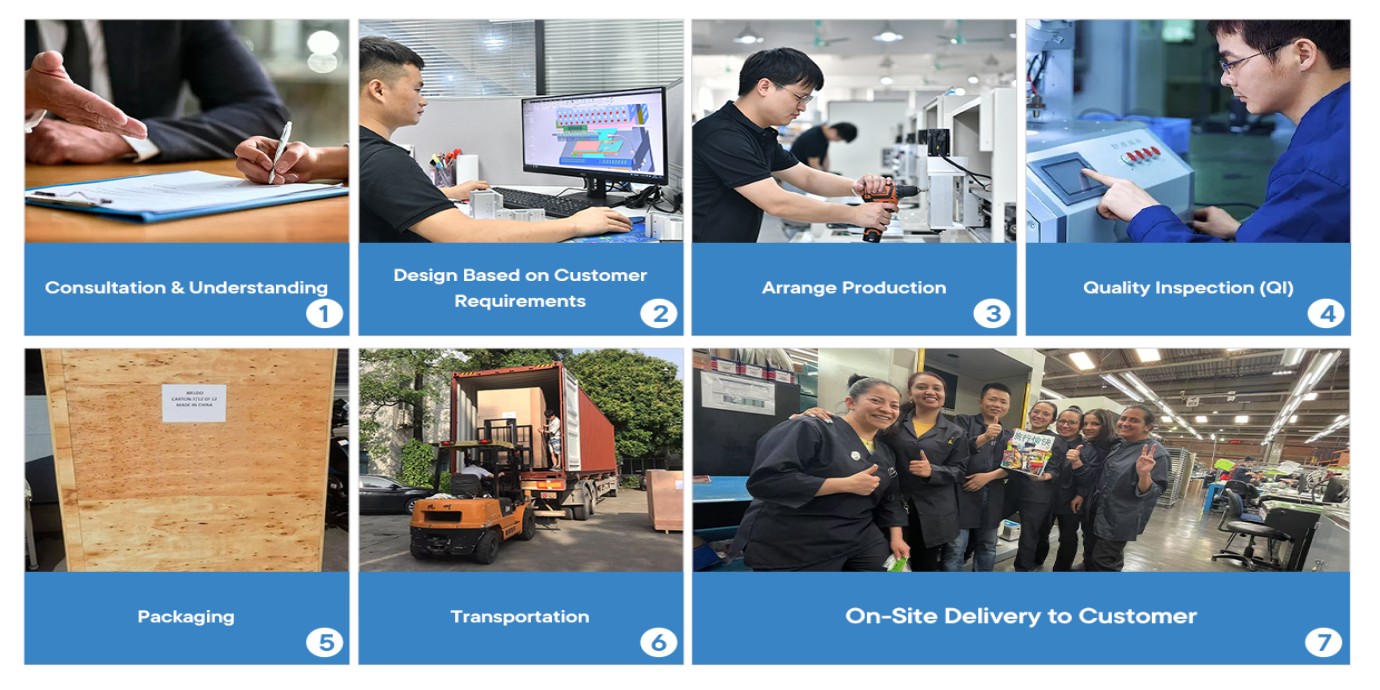
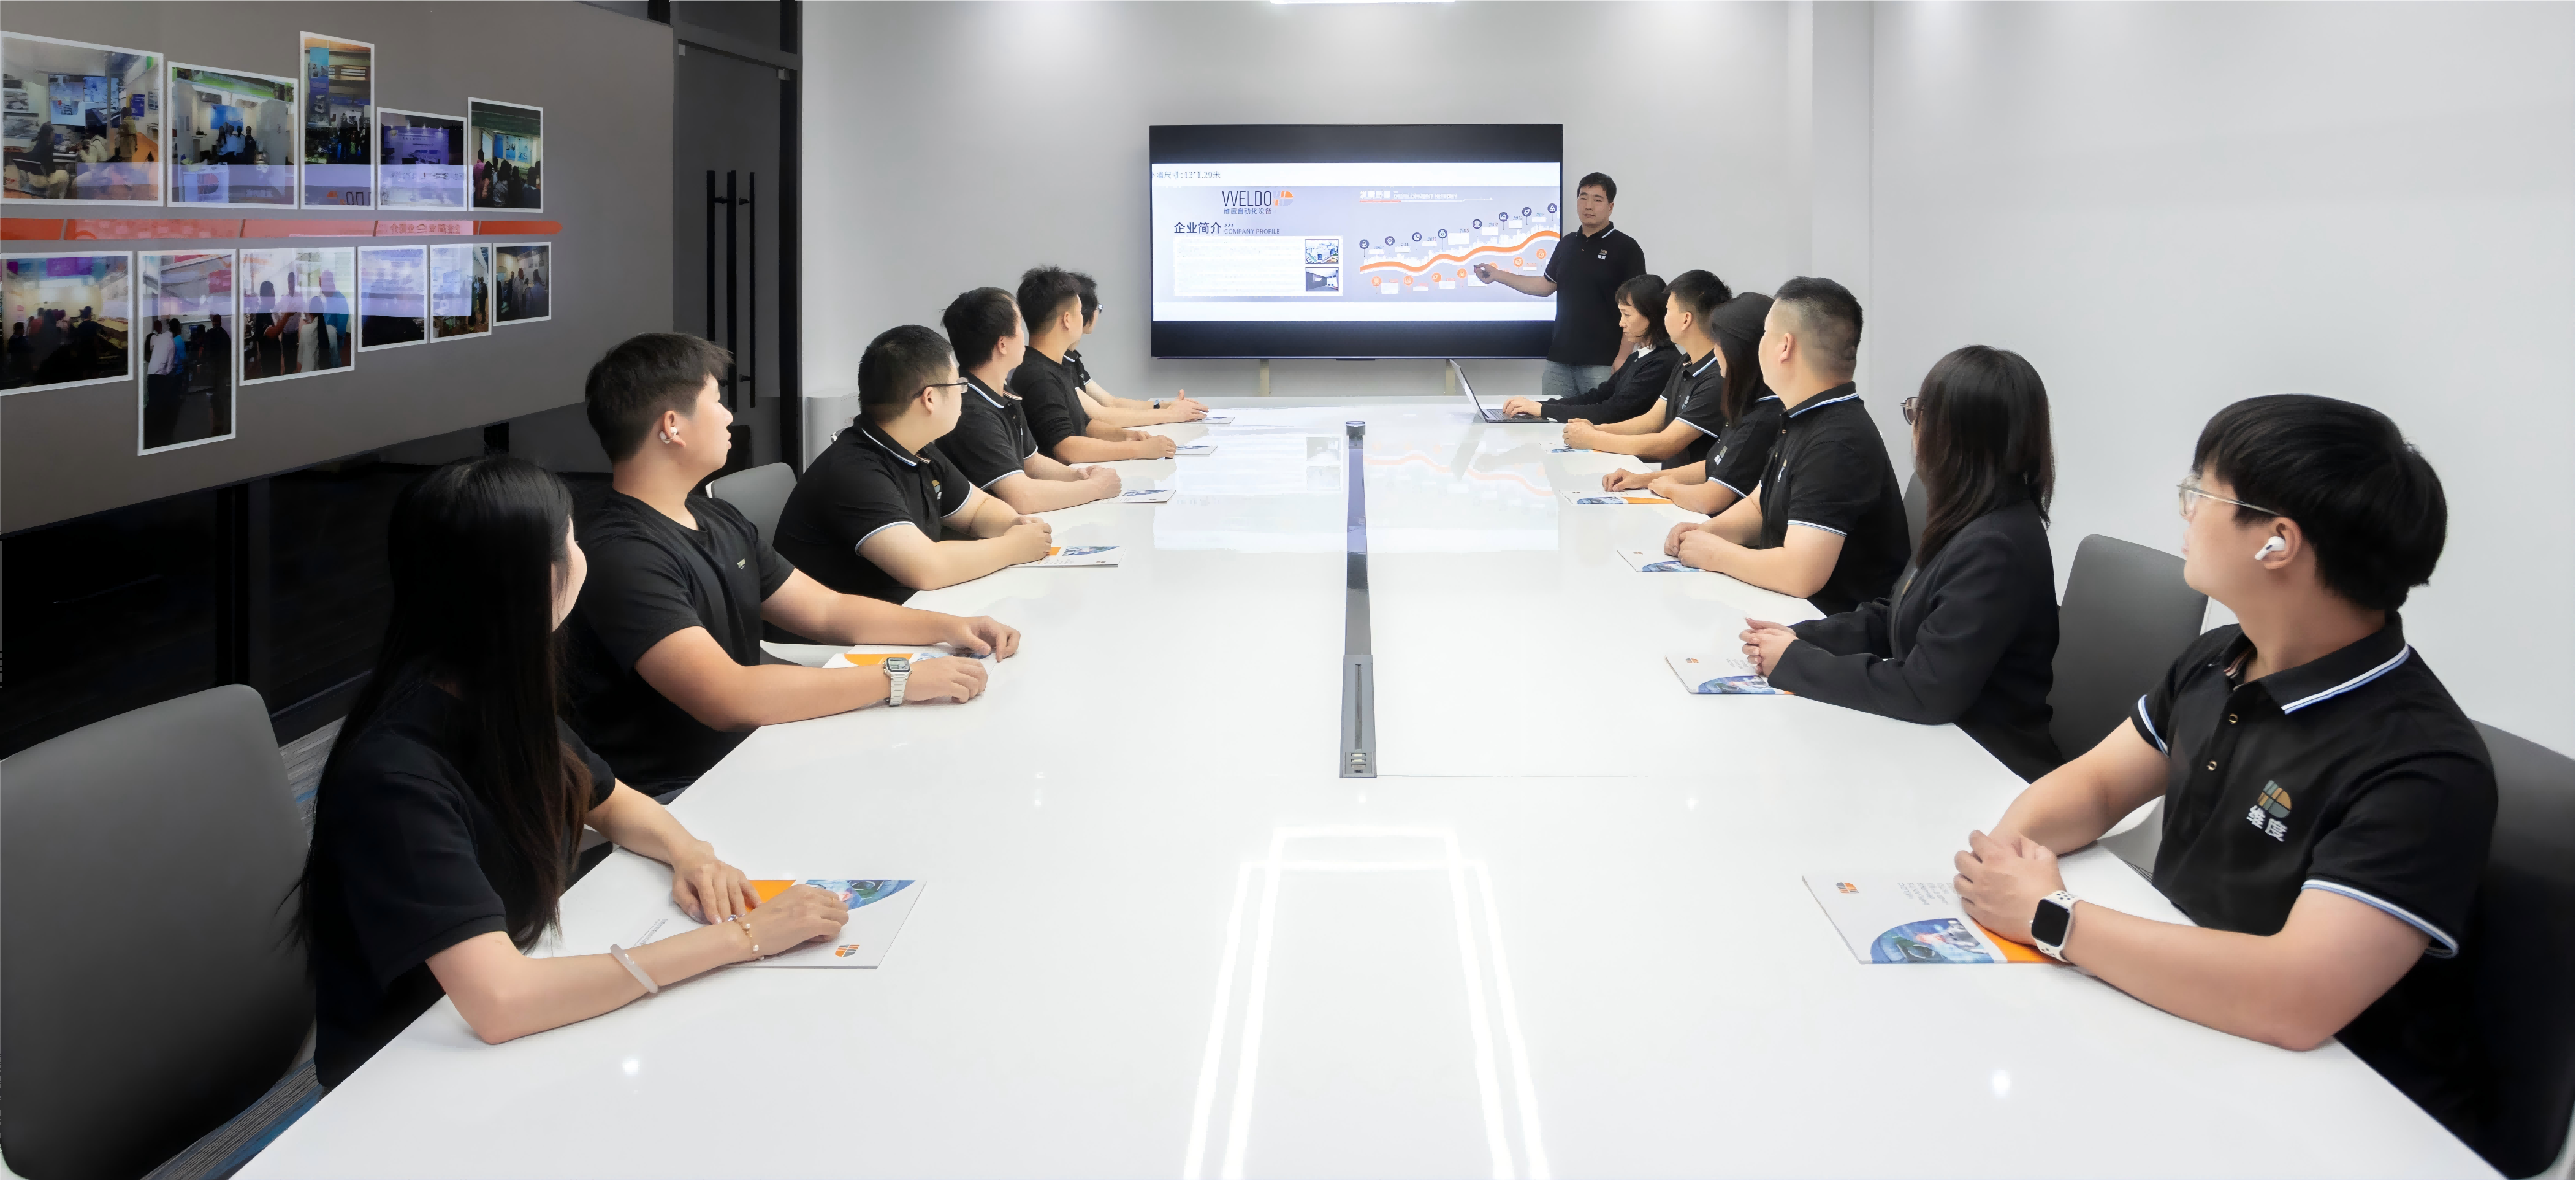
Comprehensive Service Support


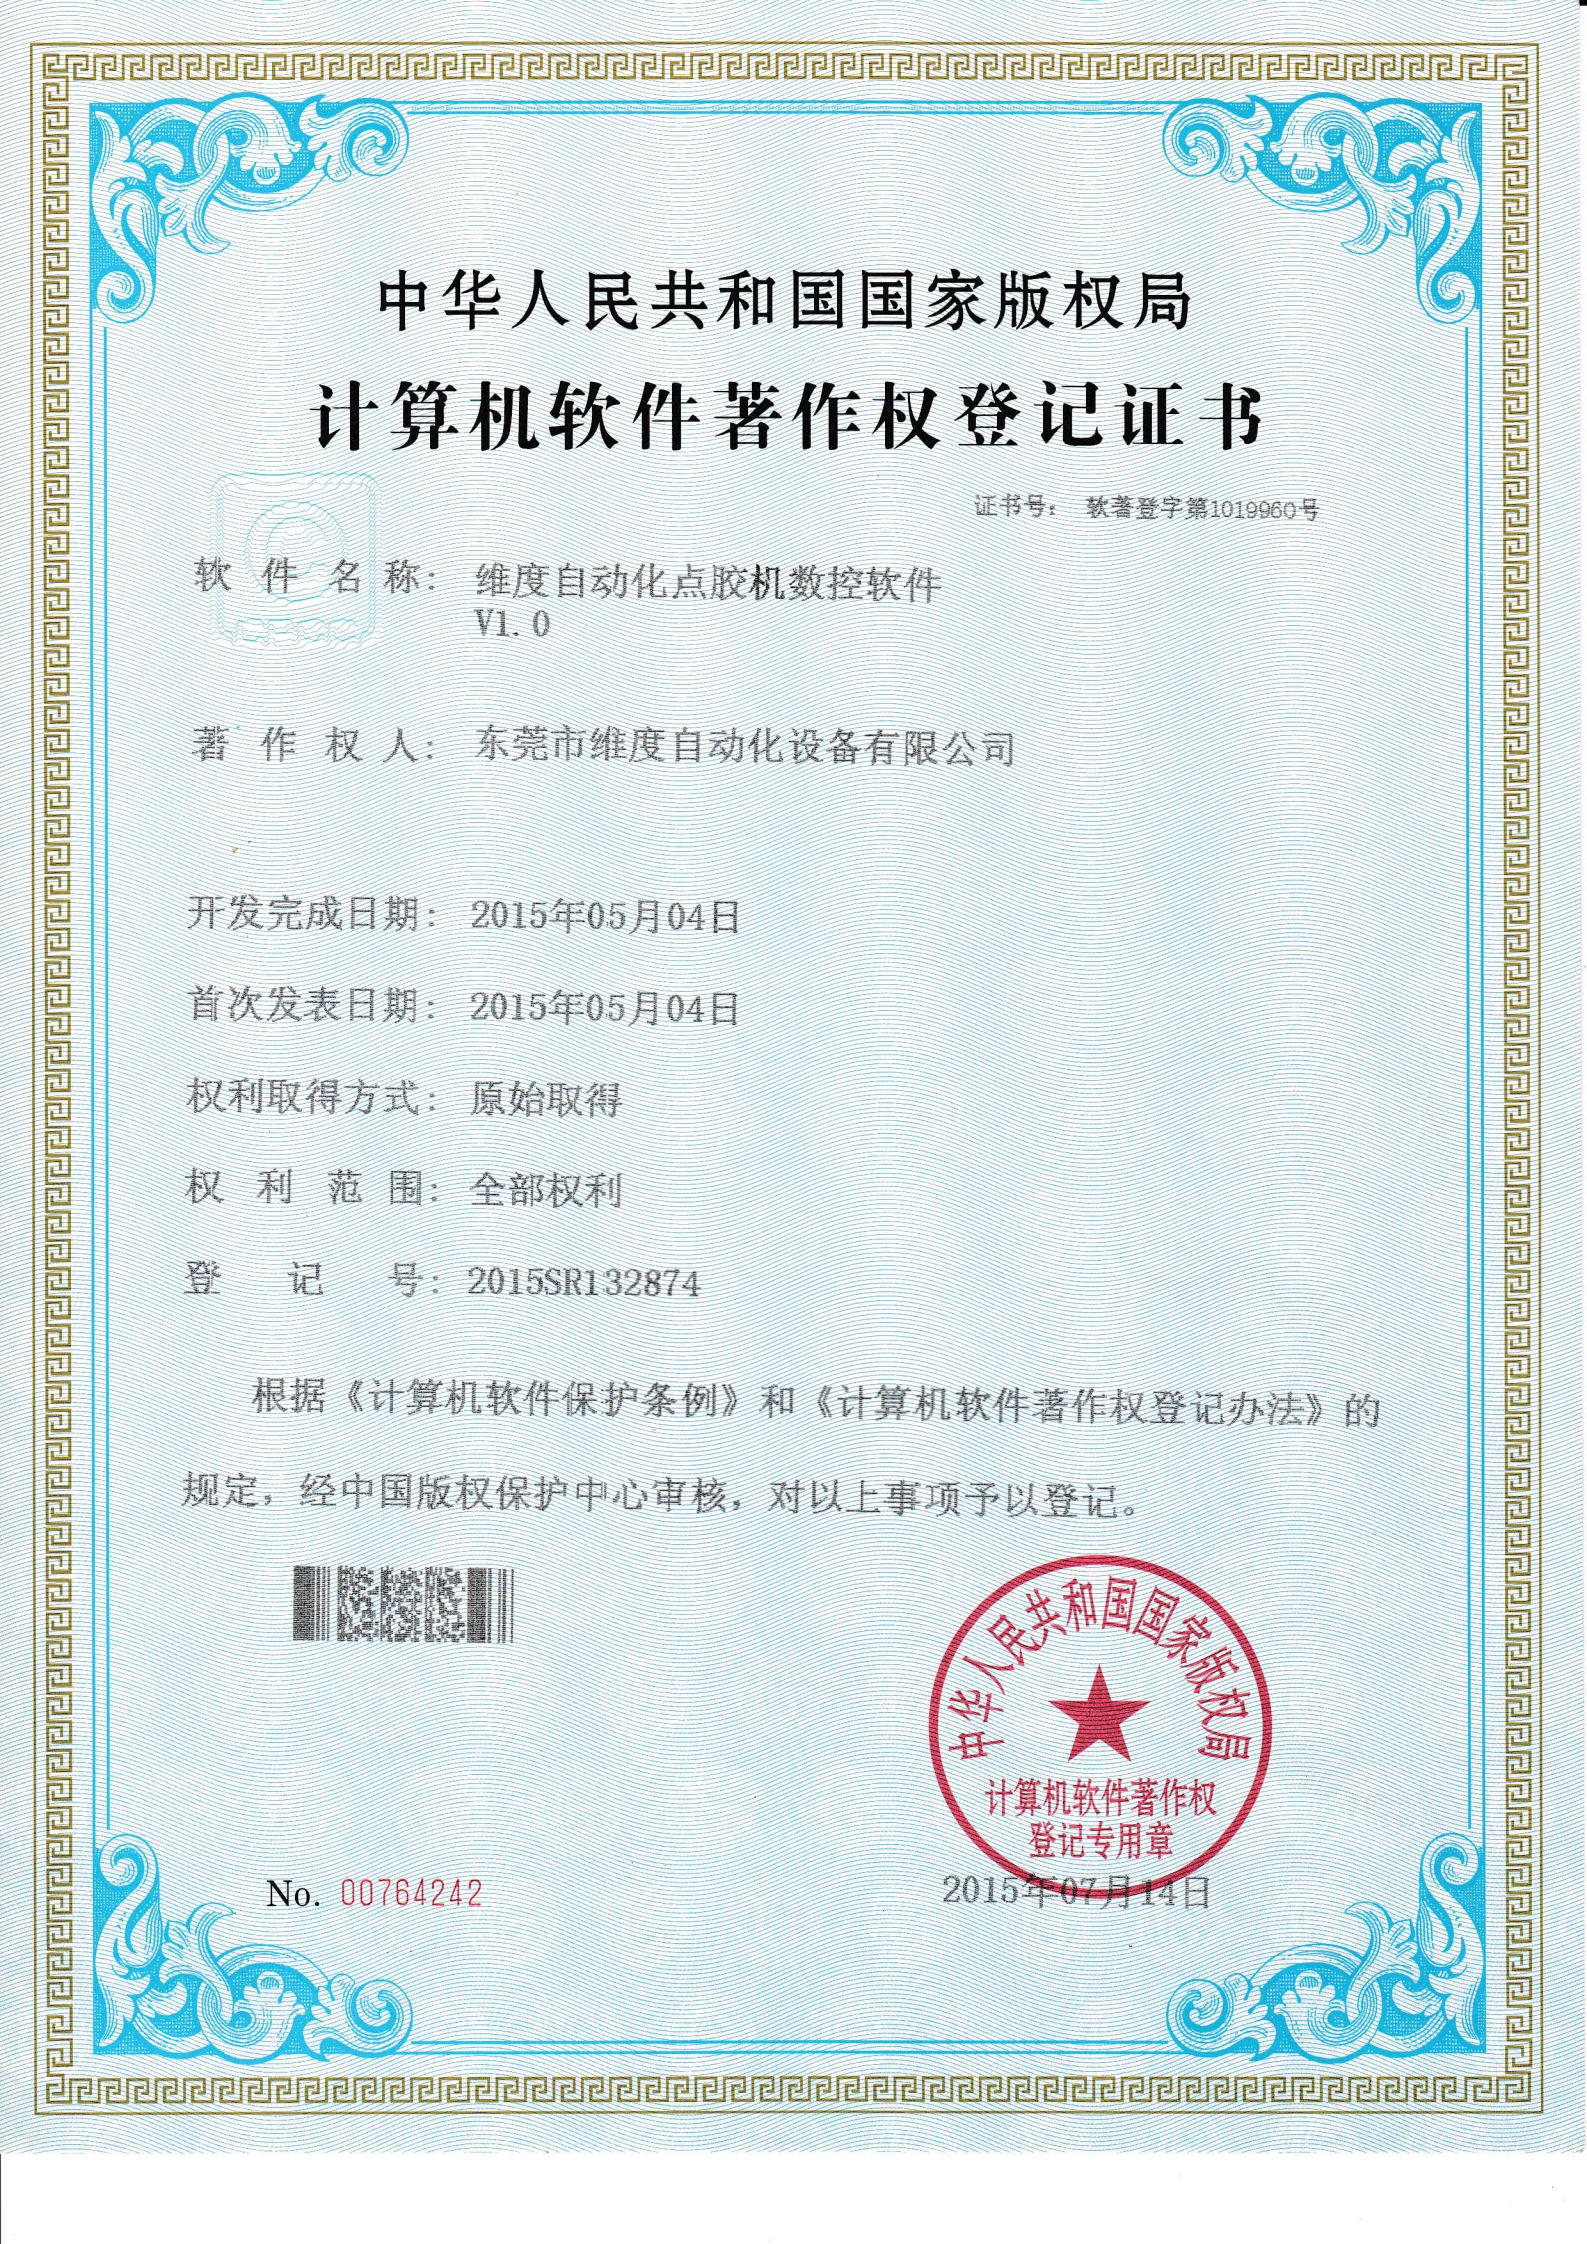
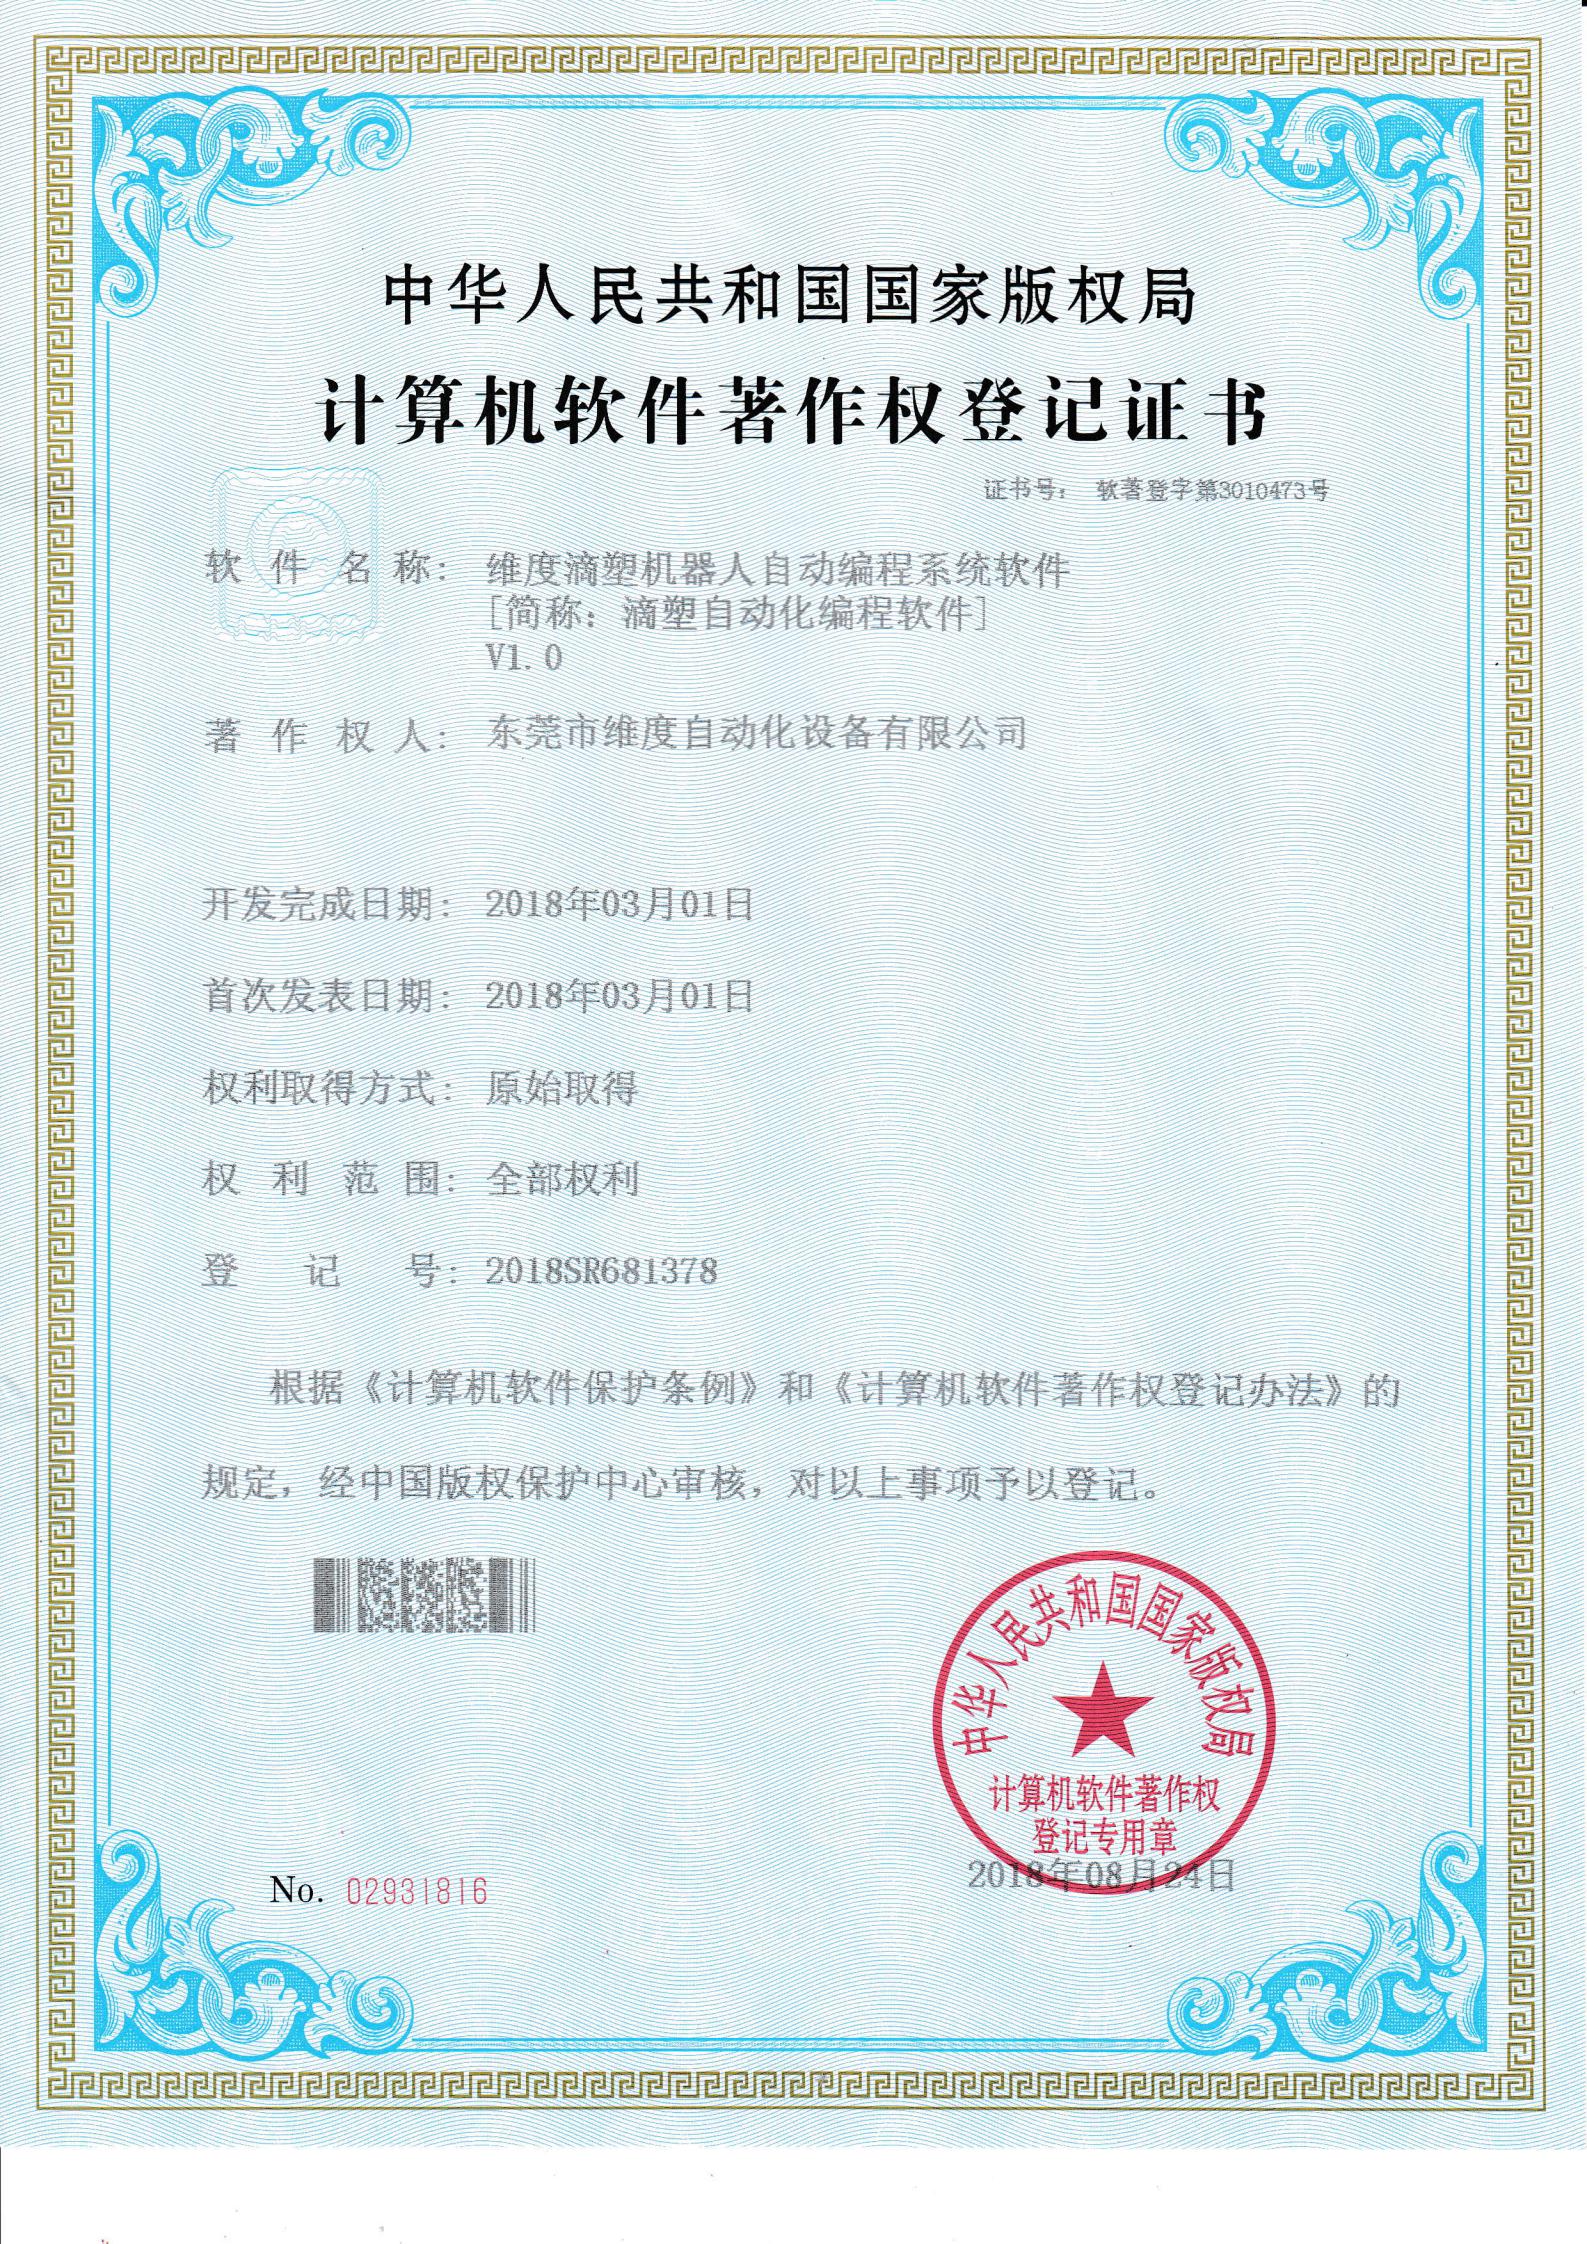
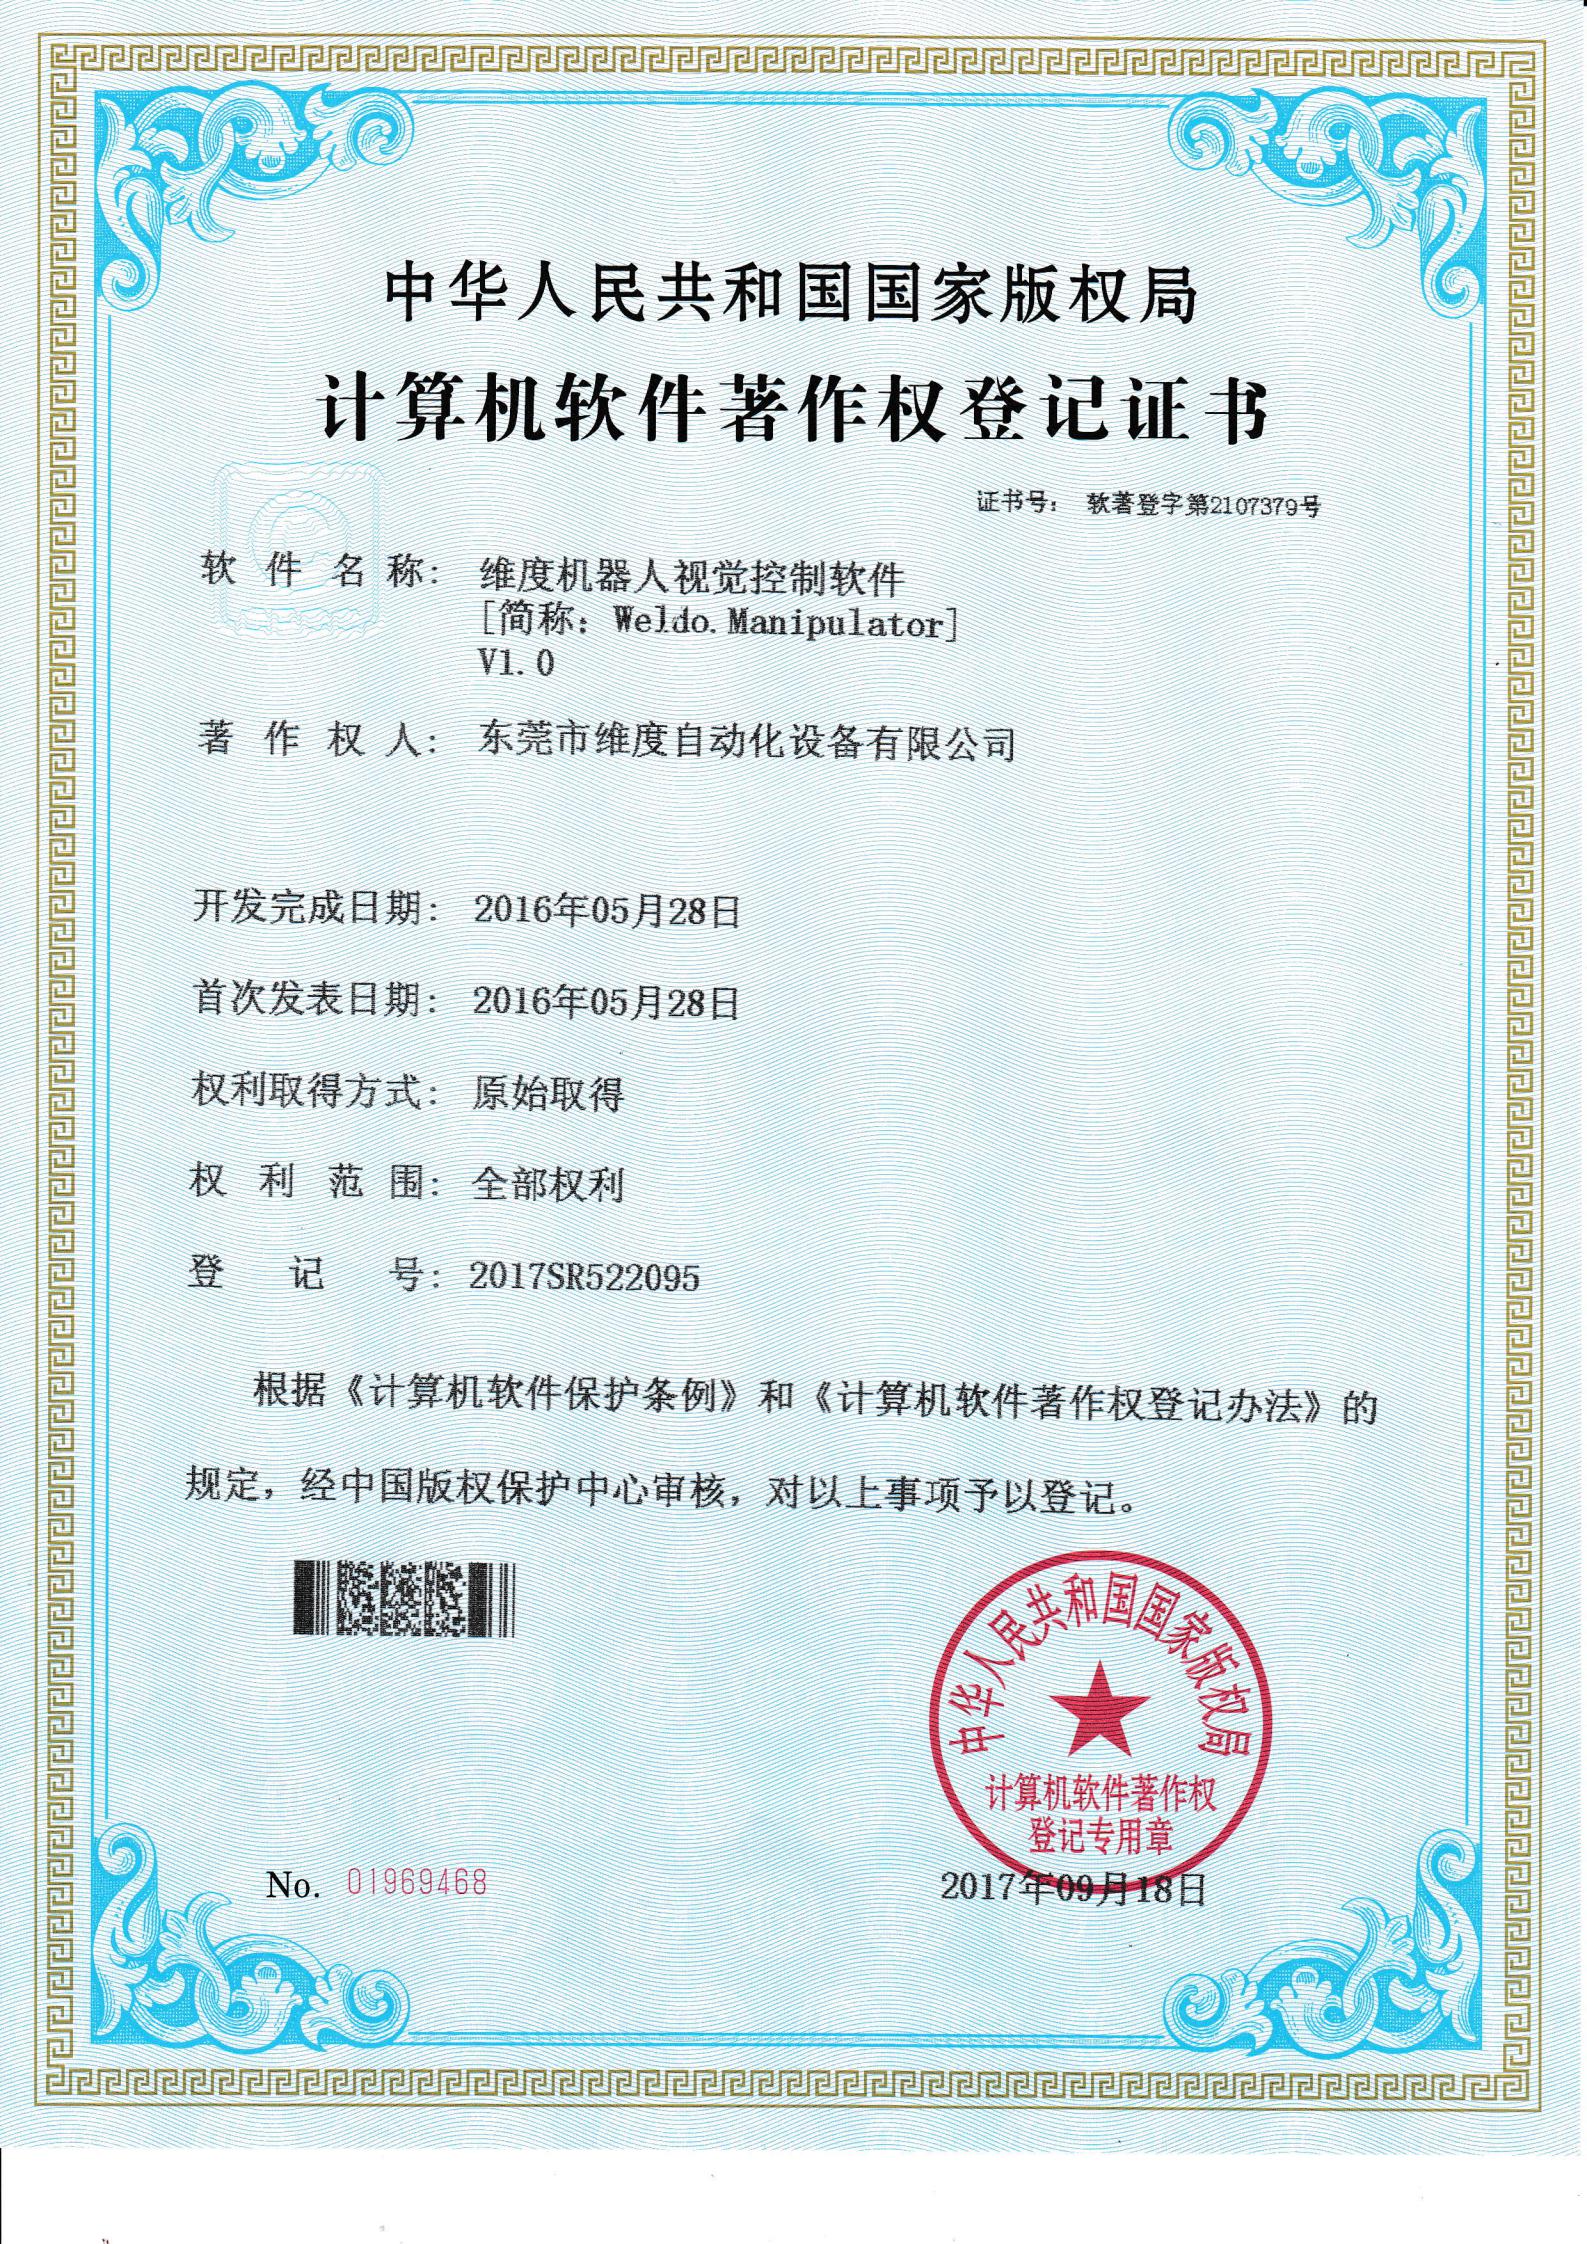
Certificate
 WELDO was founded in 2007 and relocated in 2010 to Dongguan, a city renowned as the “World’s Factory.” As a national high-tech enterprise, the company boasts a highly qualified team — over 50% of...
 Subscribe Our Newsletter
Related Products List

Privacy statement: Your privacy is very important to Us. Our company promises not to disclose your personal information to any external company with out your explicit permission.
Fill in more information so that we can get in touch with you faster
Privacy statement: Your privacy is very important to Us. Our company promises not to disclose your personal information to any external company with out your explicit permission.

It offers the flexibility we need for rapid prototyping while maintaining the consistency required for full-scale runs.
Your engineers provided excellent onsite training and remained available for remote support whenever needed.